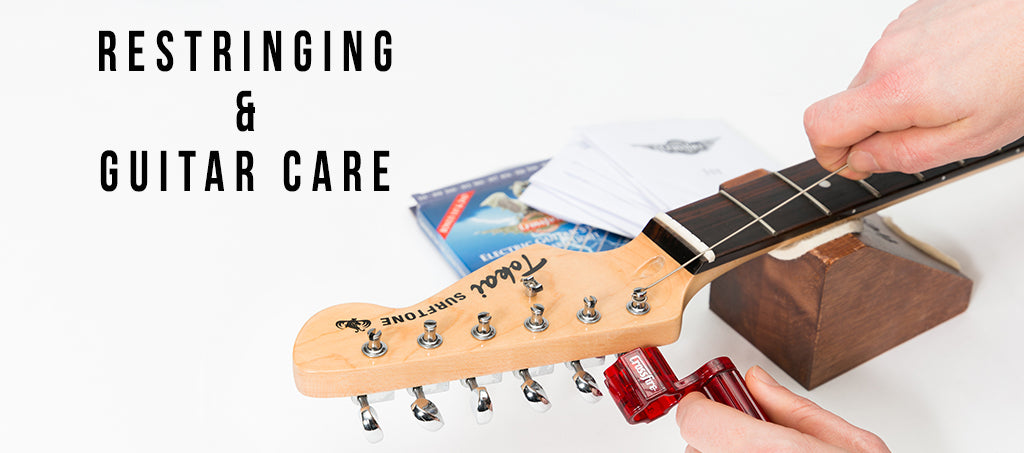
Like all things, guitars require a little bit of love and care once in a while, which is why we’ve put together this simple guide to restringing and caring for your instrument.
Caring for your guitar is a simple affair, and with a few common tools and accessories you can easily keep your guitar in top condition. By following our step-by-step instructions you’ll have your guitar looking, sounding and feeling like new in no time!
When should you change your strings you ask? Well, we recommend replacing your strings at minimum every three months. If you're an avid guitar player or have very acidic skin you may need to replace your strings much sooner than this. If your strings are discoloured or rusty then it's definitely time for a change!
And remember, if you have any doubts about restringing your guitar, take a quick photo of your guitar's headstock before you begin as a reference you can refer to later.

The tools and accessories we recommend are a string winder, guitar polish, lemon oil, clip-on tuner, guitar neck support, microfiber cloth, soft cotton cloth, wire cutters, fine steel wool and your favourite set of strings. Oh, and don’t forget to work on a clean flat surface. We also recommend restringing with the guitar's body resting on an old t-shirt or cloth, this prevents scratches while you work, just make sure the cloth’s clean!
* Optional tools: fretboard guard or masking tape.

Begin by loosening all of the guitar strings, and then remove each string from its tuning post.

When restringing a “string through” guitar, use your wire cutters to remove the tips of the old strings just below the point that the string wound around the tuning post.
If you’re restringing an acoustic guitar this step is generally unnecessary. However, with an acoustic guitar you’ll need to use the bridge pin puller on your string winder to remove the bridge pins. Once you’ve completed either of the steps above you will be able to easily remove the strings from the bridge.

*This step is optional.
With a small ball of fine steel wool, polish each fret using a back and forth motion. A fretboard guard or masking tape can be used to protect your guitar's fretboard, but with care these items are not essential. If the fretboard itself is extremely dirty, steel wool can be used to remove stubborn dirt and grime. Blow off any steel wool shavings; do not wipe them off as they will scratch the finish. Next we’re going to clean and condition the fretboard.


Spray a small amount of lemon oil onto a soft cotton cloth and clean the entire fretboard, making sure to remove as much dirt and grime as possible. Clean as close to the sides of each fret as you can; dirt builds up at these points easily.
*For finished fretboards, or maple fretboards, do not use lemon oil. Instead, dampen a soft cotton cloth with warm water to remove dirt and grime.

Now that your guitar's fretboard is clean, let’s start restringing!
When restringing a guitar it’s generally easier to install the lowest string first and work upwards; so begin by placing the ball end of the sixth string into the bridge. Once the string has been secured in the bridge, place the non-ball end of the string through the sixth string tuning post. While holding the end of the string with your left hand, use your right hand to clasp the string at the fifth fret and create an arch by placing your index finger on the fifth fret fret-wire. This technique will give the average adult a fairly accurate approximation of the length of string required to wind the string at least twice around the tuning post. For reference, the arch our hand creates is approximately 9 cm’s high. Remember though, it’s always better to have a string too long than too short!
*Vintage style deep post tuners may require up to 2.5 cm’s in additional string length to compensate for the post hole's depth.

When you’re satisfied with your string measurement you can begin winding on the string using your string winder. As we’re restringing a guitar with vintage style deep centre-post hole tuners we’ll cut the string to our desired length before we begin stringing the guitar. For any other style of tuner you don’t need to cut the string to length until after you’ve finished restringing. Begin winding the string on, ensuring it winds on from the side of the tuning post closest to the centre of the headstock. Maintain tension on the string using your free hand as it winds on, making sure the string doesn’t cross itself. It’s good practice to wind at least two full winds around the tuning post, we recommend you don’t exceed more than four full winds on the bass strings and five full winds on the treble strings.
*When restringing it is recommended to wind once over the top of the string, and then continue winding on below the string. This creates a clamp which prevents the string from slipping. This method does not apply to vintage deep post tuners where the string should only be wound under itself.

Once your guitar has been completely restrung remove the unused ends of string using your wire cutters and begin tuning!
Tune your guitar to your preferred tuning, we recommend using a chromatic clip-on tuner for their accuracy and versatility.


Finally, if your guitar has a gloss finish, spray a small amount of guitar polish onto your guitar and begin polishing with a microfiber cloth. Never polish your guitar using circular motions as this can create swirl marks in the finish; always polish back and forth in the same direction. Add polish and clean as required, and that’s it, you’ve successfully cleaned and cared for your guitar!
* If your guitar has a satin or matte finish we do not recommend using polish, a clean microfiber cloth will do the job just fine. For stubborn dirt and grime you can use a clean damp soft cotton cloth followed by a microfiber cloth.
Please note: If you’re uncomfortable working on your own instrument we recommend bringing it in to our qualified service technician.